The following article gives you a detailed insight into How to use the Induction Stove. This will provide A to Z knowledge of Induction Cookers, right from the decision to buy, how to make it operational, troubleshooting it till how some recipes can be prepared using the Induction Cooktop.

picture by Gaelle Marcel on Unsplash
How Induction Stove works
The induction stove is a cook-top that uses the phenomenon of heating through Electromagnetic Induction. The heart of the system is the Induction coil. As soon as you induce the electricity in the system, the current passes through induction coils that produce Electromagnetic waves. The particles within the vessel vibrate with these EM waves and hence heat the food put inside it. For a more detailed and exclusive explanation on Induction Stove working, must-read blogs by one of the renowned chef- Heather Dunbar

We will take following steps to study How to use the Induction Stove
- First & Foremost: Things you should keep in mind before using a new Induction stove.
- Step-by-Step usage: Explanation of the right steps while using Induction.
- Troubleshooting: Errors know-how and how to self rectify them.
- Exceptional and Exciting Experience: Features that make it different and exciting.
- Fun with Cooking: How to use the Induction Cooker to make some exciting recipes.
- Conclusion: Summarization of the content.

1. First and Foremost
Before planning to purchase an Induction Cooker, keep in mind the following things:
A. Choice of Utensils/ Pots
Since Induction cooking works on the principle of electromagnetic waves, any pot with a ferric (Iron) property is ideal for Induction Stove. The best way to identify the correct pot is by using a magnet. If a magnet sticks to it, it can work on induction Stove. Besides, magnetic property there are few other things that you should keep in mind for the kind of suitable and non-suitable pots required for Induction Cooking. Following diagram is the complete description for the kind of pots used on Induction Stove

B. Place of Installation
Like any other cooking stove placed in your kitchen, the Induction stove is also required to be installed on a leveled horizontal place to prevent the cooking pot tumbling down with at least 10cm from its sides and back to the wall. Further, it should be placed near to the electric socket and at a distance from the Gas stove. Never use the Induction stove on Carpet, Bed, Table Cloth, or tissue as these may block the Air Vents resulting in excessive heat within the unit. Further, never place on any metallic platform also.
2. Step – by – Step usage
Please note that the basic functions and operations are the same for all induction cookers but the placement of keys and number of functions may vary model to model.

Step 1
Insert the Induction Stove plug in the socket and switch it “ON”. Please check the health of socket and plug before inserting to avoid any sparks.

Step 2
Clean the Induction Top glass with a dry cloth to remove any dust/ stains. Dust or stains may reduce the efficiency while cooking.

Step 3
Place the cooking pot with food item to be cooked. Do not start the Induction stove with empty pot.

Step 4
“Power On” the induction stove by pressing Start button on the control panel of the stove

Step 5
Select the preset cooking mode on the control panel to achieve the desired results automatically or manually adjust the timing and temperature as per your requirements.
More About Functions on Induction Stove
Timer function
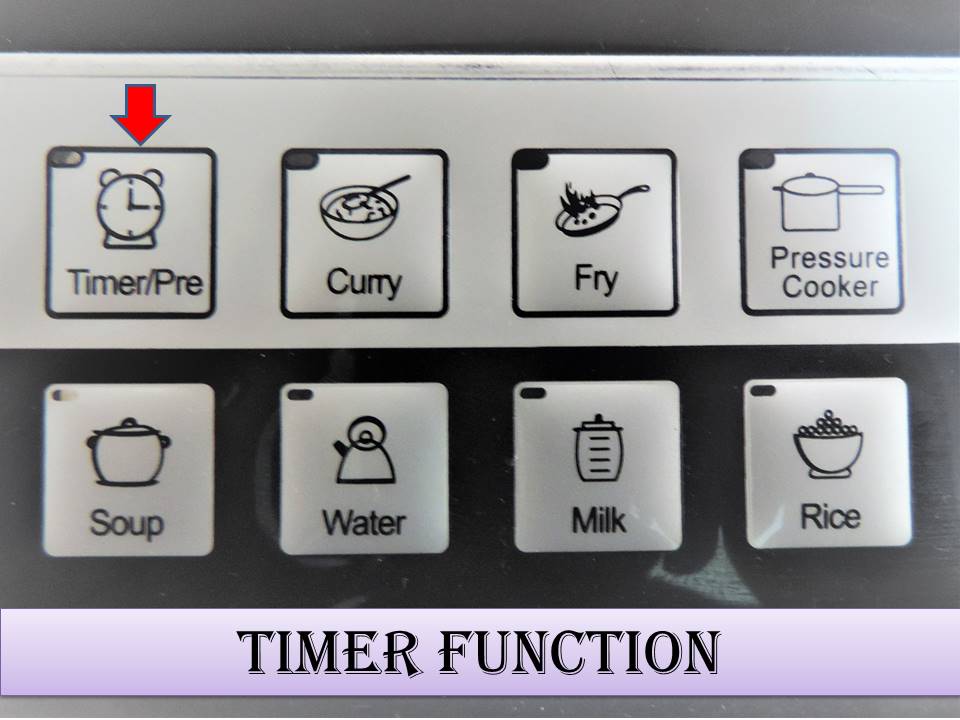
On Timer/ Preset Function
There are two kinds of Timer Functions- ON TIMER & PRESETS. Whereas, ON TIMER is used to define the time duration you require to cook a dish, PRESET is used to set your timing before you cook
Variable Power Function: Based on what you are cooking and how you are cooking, the power rating and timing duration can be adjusted manually. The following three functions describe the same.
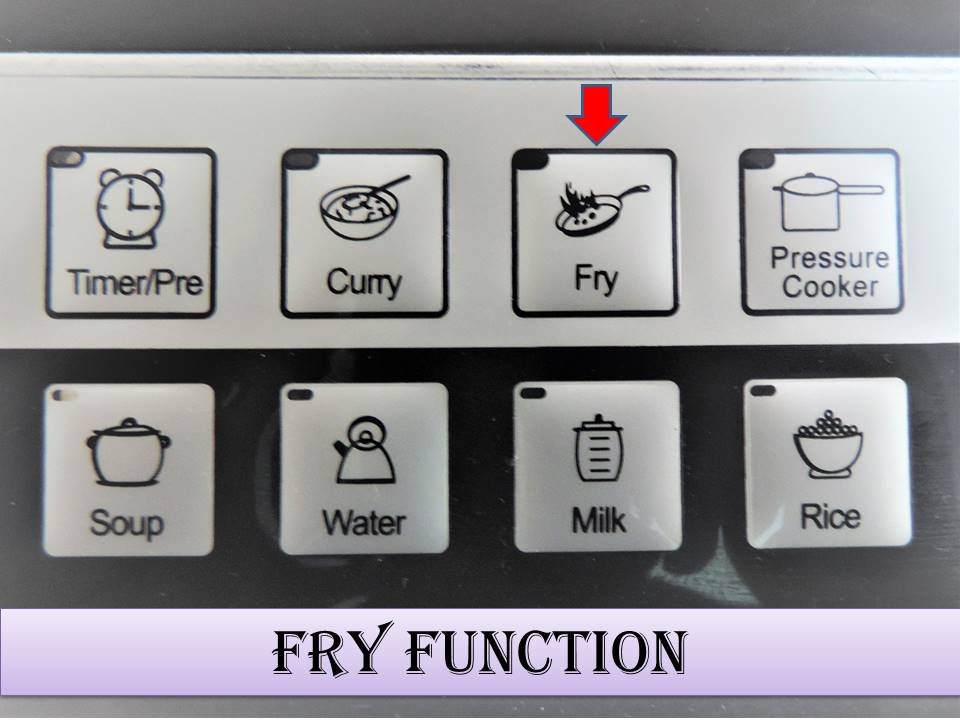
Fry Function
While working, press this function. The panel shows the figure in degrees. The default is usually 220 degrees but you can adjust both temperature and timing duration through the Timer button as per your need.
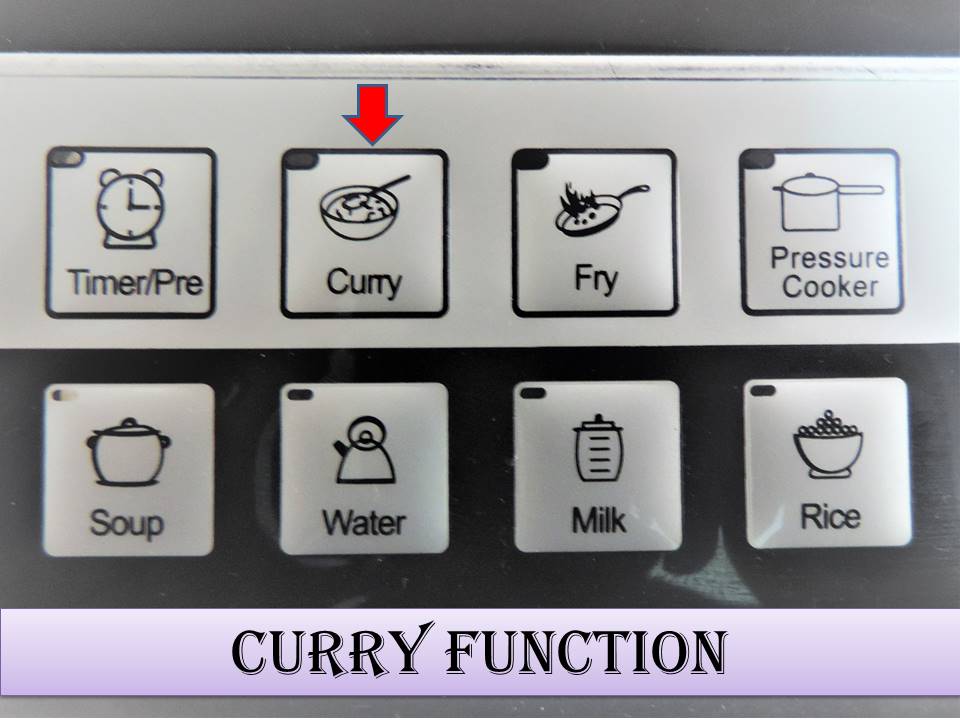
Curry Function
While working, press this function. The panel shows the figure in degrees. The default is usually 240 degrees but you can adjust both temperature and timing duration through the Timer button as per your need.
Fixed Power Function: Based on what you are cooking, the power rating and timing duration cannot be adjusted manually. Theses are basically Preset Functions that are programmed in the logic. following four functions describe the same

Rice Mode Function
This function is ideal for making Rice, Biryani, Pulao etc. While working, press this function. The panel shows 1300 watts. The power is fixed and you cannot adjust it. You can choose 1 min to 24 hours for choosing the time as per the requirement.

Milk Mode Function
This function is ideal for heating and boiling milk, tea, kheer etc. While working, press this function. The panel shows 600 watts. The power is fixed and you cannot adjust it. You can choose 1 min to 24 hours for choosing the time as per the requirement.
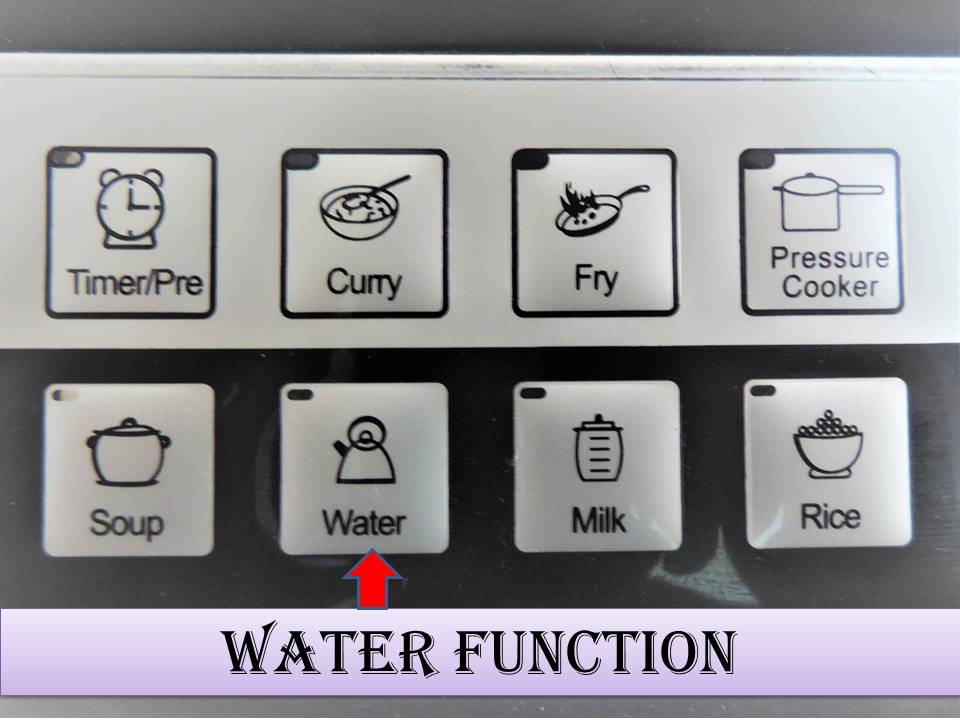
Water Mode Function
This function is ideal for heating and boiling water etc. While working, press this function. The panel shows 1800 watts. The power is fixed and you cannot adjust it. You can choose 1 min to 24 hours for choosing the time as per the requirement.
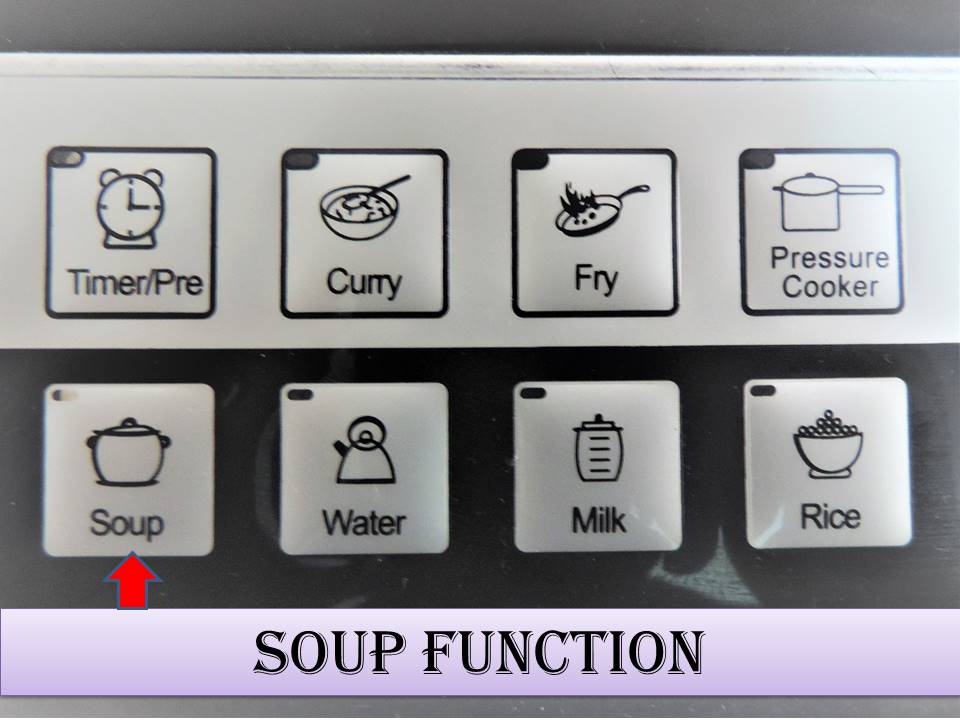
Soup Mode Function
This function is ideal for preparing soup, dal etc. While working, press this function. The panel shows 1400 watts. The power is fixed and you cannot adjust it. You can choose 1 min to 24 hours for choosing the time as per the requirement.
Supplementary Function: To provide additional experience to users and to differentiate the models, manufacturers use supplementary functions. A few of these features/ Functions are described below.
Voltage Checker: While working, press this button to know the voltage at which the stove is working. You may press again to know the voltage consumed.
Child Lock: Press this button to lock all other keys so that nothing operates. Long press this button again to unlock the keys.
Keep Warm: This helps to keep the cooked food warm. It operates at 600 watts and you can set the timer from 1 min to 24 hours.
3. Troubleshooting
What if the induction cooker is not working? No worries! The diagnostics are as simple as the product itself. Just follow the guidelines below in case you face a problem.
| Problem Faced | Action Required |
|---|---|
| Error Code: Mostly manufacturers have embedded ‘E0‘ or Beeps (or check the user manual of your product). This indicates the cooking pot is not placed on the stove | The beauty of this product is that it will not work unless and until the right cooking pot is not placed over it. So, when you switch it ON without placing the right pot and there is an error code, you just simply need to place it in the right position. The type of pot also plays an important role. If the pot is not compatible, the same error code will be shown since as per stove there is no pot placed on it |
| Error Code: Mostly manufacturers have embedded ‘E1 &E2‘(or check the user manual of your product). This indicates the input voltage is not under the range. Either it is too low or too high. | To prevent the internal circuitry from electricity surges, the induction cooker cuts itself from the external voltage source and gives you an indication regarding the same. In this case, wait for correct voltage input or try some other socket. Switch ON the induction cooker after some time. Also, check the proper earthing at the power-point. The voltage between the earth point and Neutral should be less than 8V. This is important to prevent the shock and to prevent the circuitry from burning and ensure the long life of your equipment |
| Error Code: Mostly manufacturers have embedded ‘E3′ (or check the user manual of your product). This indicates the temperature of the pot is too high. | This is extra protection given in Induction Stove. It prevents the dry pot or empty vessel from further heating. As soon as it senses the extra temperature from the pot, it cuts off the further flow of electricity in the system and hence ceases to heat further. This will prevent the pot from any damage in case left unattended over the stove. Switch off the induction, place the pot again with cooking material and switch on. The induction is ready to work again. |
| Error Code: Manufacturers have embedded many other codes that indicates the malfunctioning within the system in the circuitry | These are the cases when there is an open or short circuit in the electrical ecology within the system. This may be from any printed circuit board, coil, or panel. Most of the time there is a problem with the IGBT on the circuit, which requires replacement. In all the issues like these, you need to consult your service guys for rectification of the problem. |
4. Exciting and Exceptional cooking experience!!
This gadget is truly worthwhile. Its features give a different and exciting cooking experience. The following are it’s few features that explain its uniqueness from its counterpart.
A. Cool Touch Cooking: The surface of the induction stove is not hot while and post-cooking. Cool surface means that it will dissipate less head to surroundings. Besides conserving energy, it saves you from getting burnt. This can be well explained through the following video. Watch it till last and you will realize that cooking on induction will not burn your money.
B. Better User Experience: Users showed a better review for cooking on the Induction Stove than a Gas Stove. The outmost reason being the convenience of cooking and maintaining the equipment.
C. Energy Efficient: Induction stove dispenses heat only to vessel. There is minimal heat loss. Cooking through Induction has a cool ambient. Thus it saves energy loss while working and is best suited than its counterpart. This is the reason it is used in keeping the food warm in Restaurants where AC is also working.
D. Portable: Being compact, these induction stoves can be used anywhere as per your convenience provided that it is kept on a flat leveled surface and has a power-point in its vicinity. Alternately to the kitchen, they can be used while watching your favorite show on Television, in the backyard while you are carrying out gardening, etc. Watch how Chad & Jenny has modified their 2020 van tour on Promaster converted with bed, TV, refrigerator, and Induction Cooker to do their dishes!
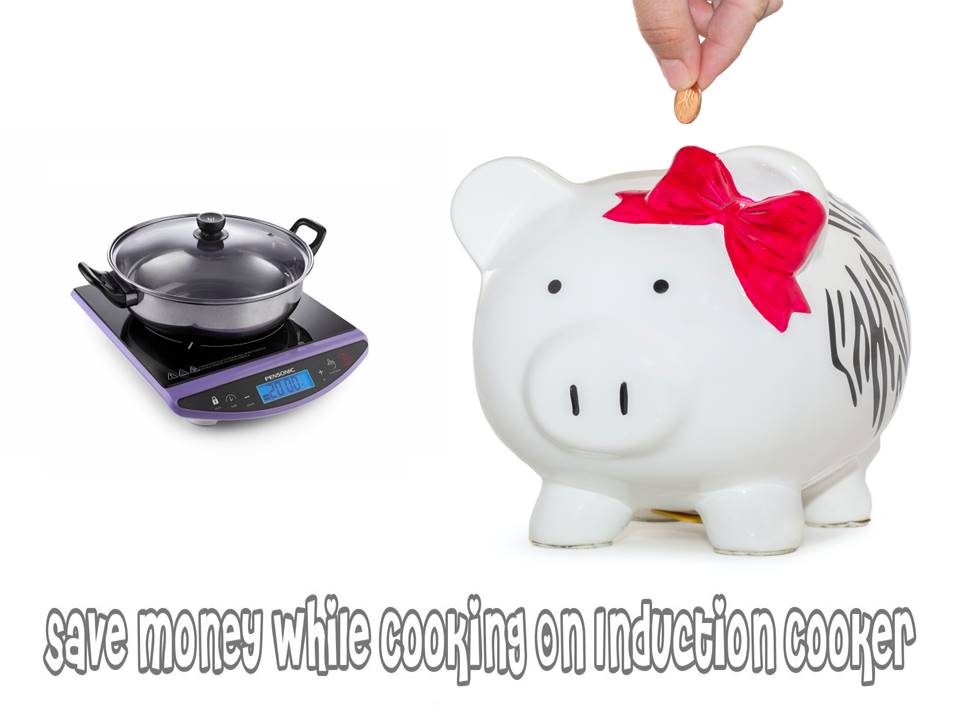
E. Cost Saving: You save up to $400 annually just by changing the cooking habit to Induction Stove. You may explore more regarding the cost at Induction Stove Power- The cheapest option.
5. Fun with cooking.
Quick and simple recipes on Induction Stove
Get some fast and exciting recipes with the help of Induction Cooker. If you are living away from your home in a hostel or PG and want a fast cooked dishes, here are some examples:
A. Scrambled Eggs with Avocados
A perfect breakfast example. With accurate and fineness, induction cookers presents you with perfect cooked eggs for your breakfast.
Ingredients
- 2 eggs.
- 3 teaspoons olive oil
- 1/2 chopped green pepper
- 1/2 cup milk
- 1/2 diced avocado
- small cut pieces of onion and tomato
- Salt and pepper to taste.
Clean and plug-in the induction cooker. Put olive oil in the skillet and place it over the induction cooker. Press the ‘Start’ button to start the induction stove. Heat the oil at medium manual setting. Add the chopped green pepper to oil and keep it for 2-3 mins.
Meanwhile, break the eggs in the bowl and whisk well in combination with the small cut onion and tomato. Pour milk in the mixing bowl and whisk again till its color changes to light yellow. Put salt and pepper to taste. Now put this mixture in the skillet and heat. Move the pan so that the egg mixture spreads within the pan. Fry and mix well so that egg becomes fluffy and breaks in small pieces. Now add Avocado and further heat. Switch off the induction once you see cooked scrambled eggs.
Serve with Whole grain bread and Ketchup.

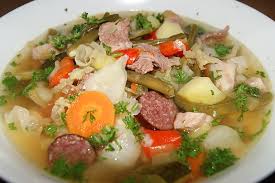
B. Vegetable Soup
For all the soup lovers, here is the quick easy way to prepare one.
Ingredients
- 1 chopped onion (medium size)
- 2 chopped carrots.
- Minced Clove and Garlic
- 1 can Vegetable broth (Chicken Broth in case of chicken soup)
- 1/2 cup of Tomato Puree
- 3 diced Potatoes
- 1/2 cup bay leaves and thyme
- 1/2 cup chopped Parsley.
- 1/2 cup chopped beans
- 3/4 cup boiled corn
- 1 cup peas.
- Salt and Pepper as per taste
- 2 tbsp Olive Oil
Heat olive oil in a large pot on medium heat (or a soup mode or 1400 watt) and add onions and carrots. After 3-4 minutes add garlic and clove. Pour in broth and subsequently add tomato puree, potatoes, parsley, bay leaves, thyme. Sprinkle salt and pepper to taste.
Add green beans. About 10 – 15 minutes, add corn and peas and cook 5 minutes longer. For flavor, you may also add some dried herbs. Add some cream over it. The soup is ready for 6-7 servings. Serve with bread crumbs.
C. Other Dishes that You can try
You can cook following dishes with lesser time that it takes on Gas Stove.
- Instant Noodles like Maggi
- Chicken Stew.
- Boiled Eggs
- Fish Fingers
- Lemon Rice
- Idli
- Chappatis
- Poha
6. Summary
By now you may be well versed with how to use the induction stove. You may use the preset cooking modes or do it manually. Be it in any shape and size, the basic functionality remains the same.
Special Mention: The primary worry of family members whose working or studying members are staying away from them all alone is how will they manage cooking. So when they are departing from you, ensure to pack an Induction stove with them. With so many advantages and convenience of using, they will always memorize you while cooking.
Thanks for reading, please let me know in case I can help you with more functions or work-ability of Induction Stoves. You may write to me in comments below for any information.
